 |
Users manual |
 |
Installation |
|
About installation |
|
|
System requirements |
|
|
Instal. Modularing |
|
|
configure MidiShare |
|
|
configure a web browser |
|
|
use with OMS |
|
|
use with PROTOOLS |
|
|
use with DirectConnect |
|
 |
Authorizing |
 |
Tutorial |
|
create bassline |
|
|
create drumsline |
|
|
sync bass & drums
|
|
|
transpose the bass |
|
|
patterns & memories |
|
 |
Modules |
|
Audio Mixer |
|
| sequencers | |
|
Arpeggiator |
|
|
Seq Analog x16 |
|
|
Seq Matrix x16 |
|
|
Seq Pad x4 |
|
|
Seq Tracker |
|
|
Seq Trig x1 |
|
|
Seq Trig x4 |
|
|
Seq C-Controller |
|
|
Seq Bulker x16/8 |
|
| controllers | |
|
Bulker |
|
|
GM Programmer |
|
|
Interpolator x2 |
|
|
Keyboard |
|
|
Mix Controller |
|
| sound generators | |
|
Duosonic |
|
|
Polysonic |
|
|
Samplesonic |
|
|
Sample Player |
|
| modifiers | |
|
Delay |
|
|
Delay Shifter x4 |
|
|
Router |
|
| synchronizers | |
|
Synchronizer |
|
|
Net Controller |
|
 |
Reference |
Open presets
Rack your applications
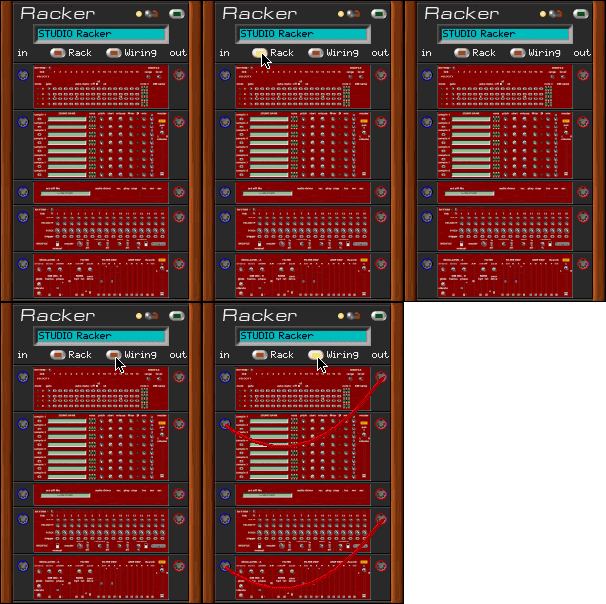
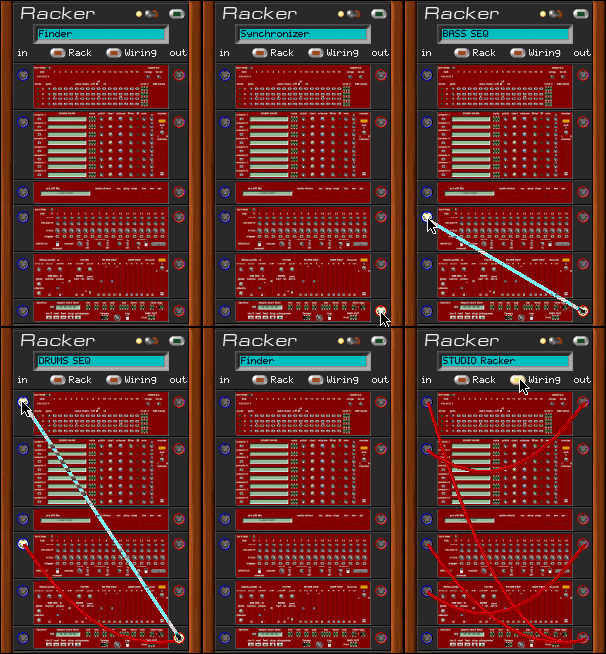
The application tool "STUDIO Racker" shows the current construction set in a small dynamic rack.
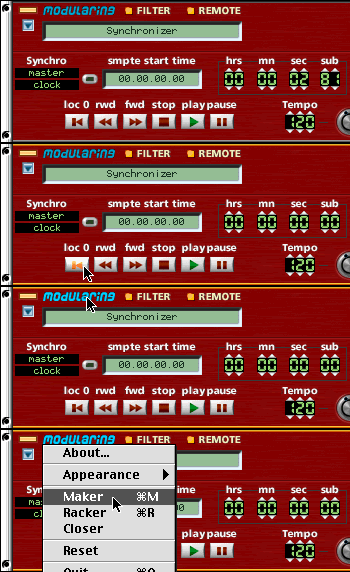
Add a synchronizer to your studioThis is a master synchronizer for all sequencers. In Master, Slave or Relay modes, this module converts MTC and MIDI clock messages to ensure perfect phasing between modules. In addition to standard MIDI clock messages, the synchronizer send BEAT and PATTERN information, regard of the time signature, to lock external modules during live performances. Use this module to synchronize all modules when you play alone on your macintosh, or in sync with external SMPTE devices and other MIDI sequencers.
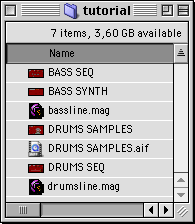
• From the MODULARING/MODULE folder, duplicate the Synchronizer into the tutorial folder. • Launch the Synchronizer.
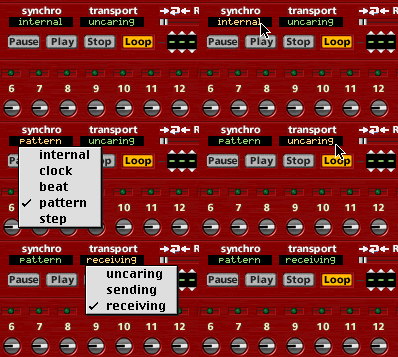
Set external sequencers to a slave modeThe synchronizer is considered as a master clock generator and all other modules will be locked to the transport command and timing messages. To be slaved the connected sequencers must be set to the following settings:
note: In modularing we added some new message complementary to the standard MIDI clocks to offer intelligent synchro modes named "beat" and "pattern". When slaved, user could stop a sequencer manually, while the other modules continue to play. At the time he will start the sequencer again, it will wait for the next "beat" message (in beat mode) to start at the right beat, or the next "pattern" message (in pattern mode) to start in phase at the right bar. The pattern message is generate by the synchronizer at the beginning of each bar, depending of the time signature.Start sequences• Press PLAY from the synchronizer, the DRUMS and BASS lines, will start and play together. • Press STOP to stop playing. • Adjust Tempo if needed. Save your job
Close your studio• Select "Closer" from the modularing popup menu to launch the modularing STUDIO Closer, or directly double-click on the "STUDIO Closer" tool to turn all the studio off. All the modularing applications will quit one by one. |
